Guide to Setting Up Your AI Receptionist
Follow these steps to set up your first AI receptionist. The process is quick and takes just a few minutes to create a fully functional AI receptionist.
Step 1
Sign up
Use the signup screen to create a new account. You can register with your email and password or sign up using social logins like Google, Microsoft, or Apple.
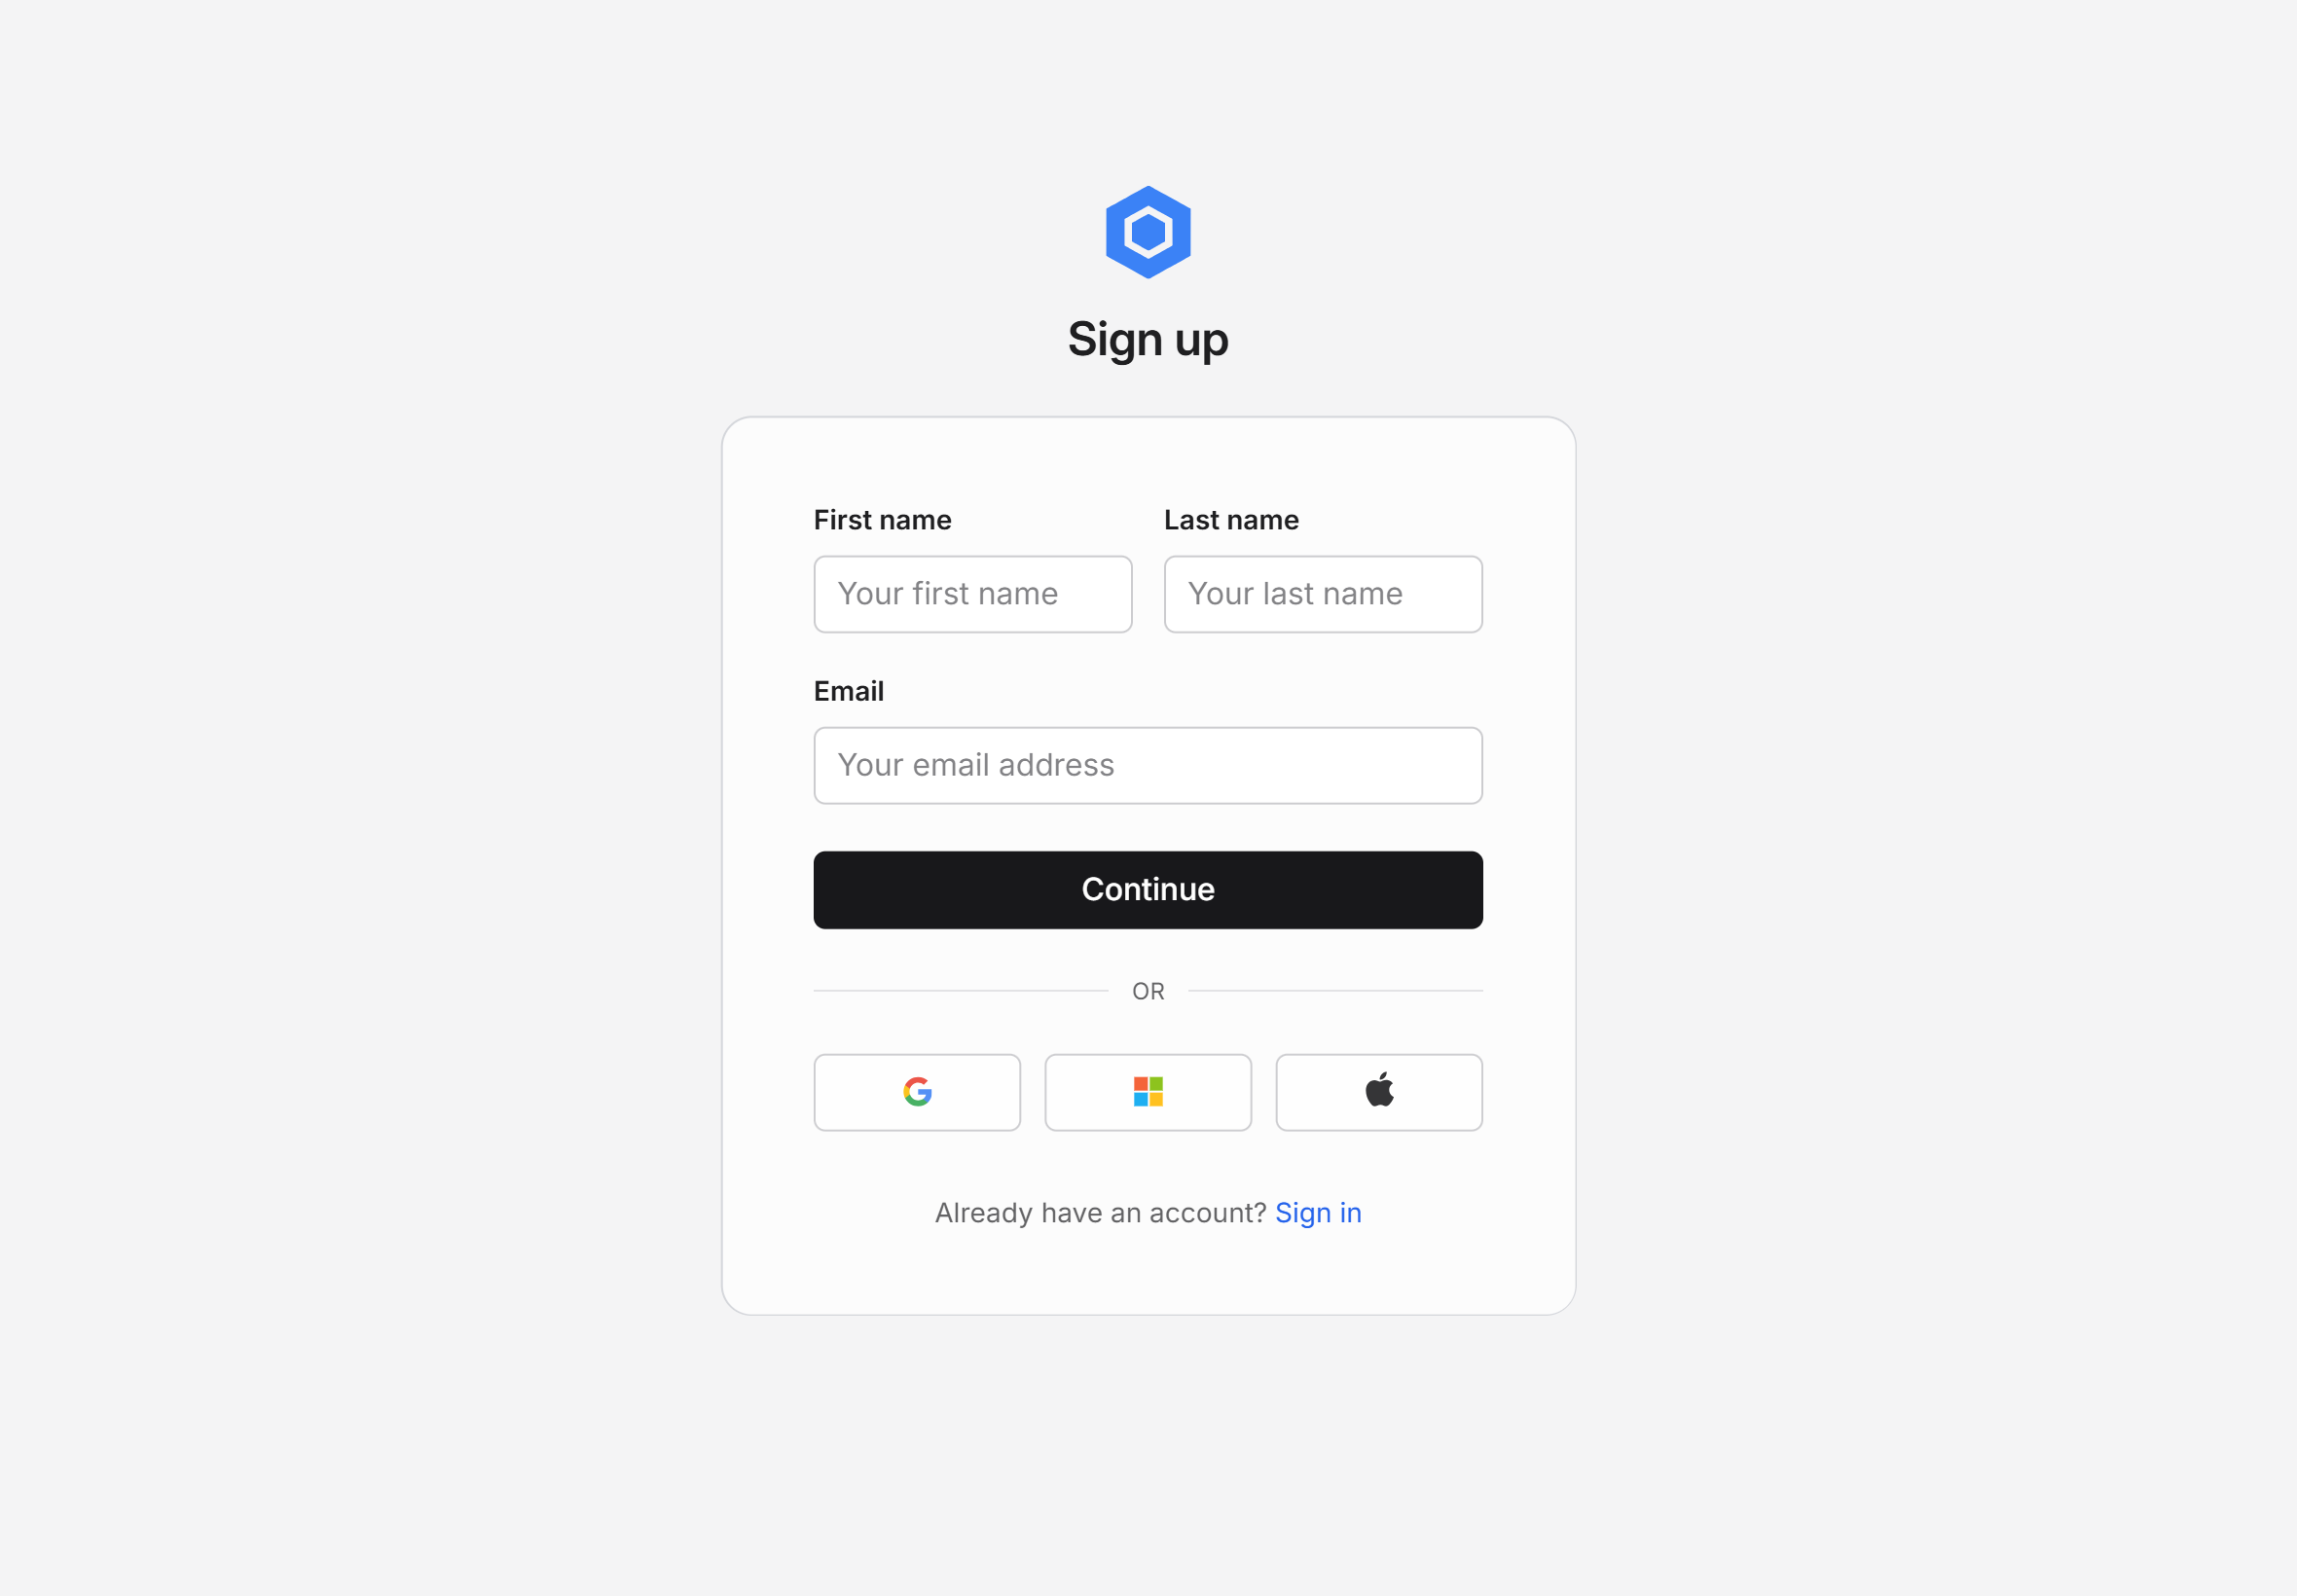
Sign-Up Link: Click the button below to open the sign-up page.
Sign upStep 2
Add AI Receptionist
Use this screen to set up your new AI receptionist.
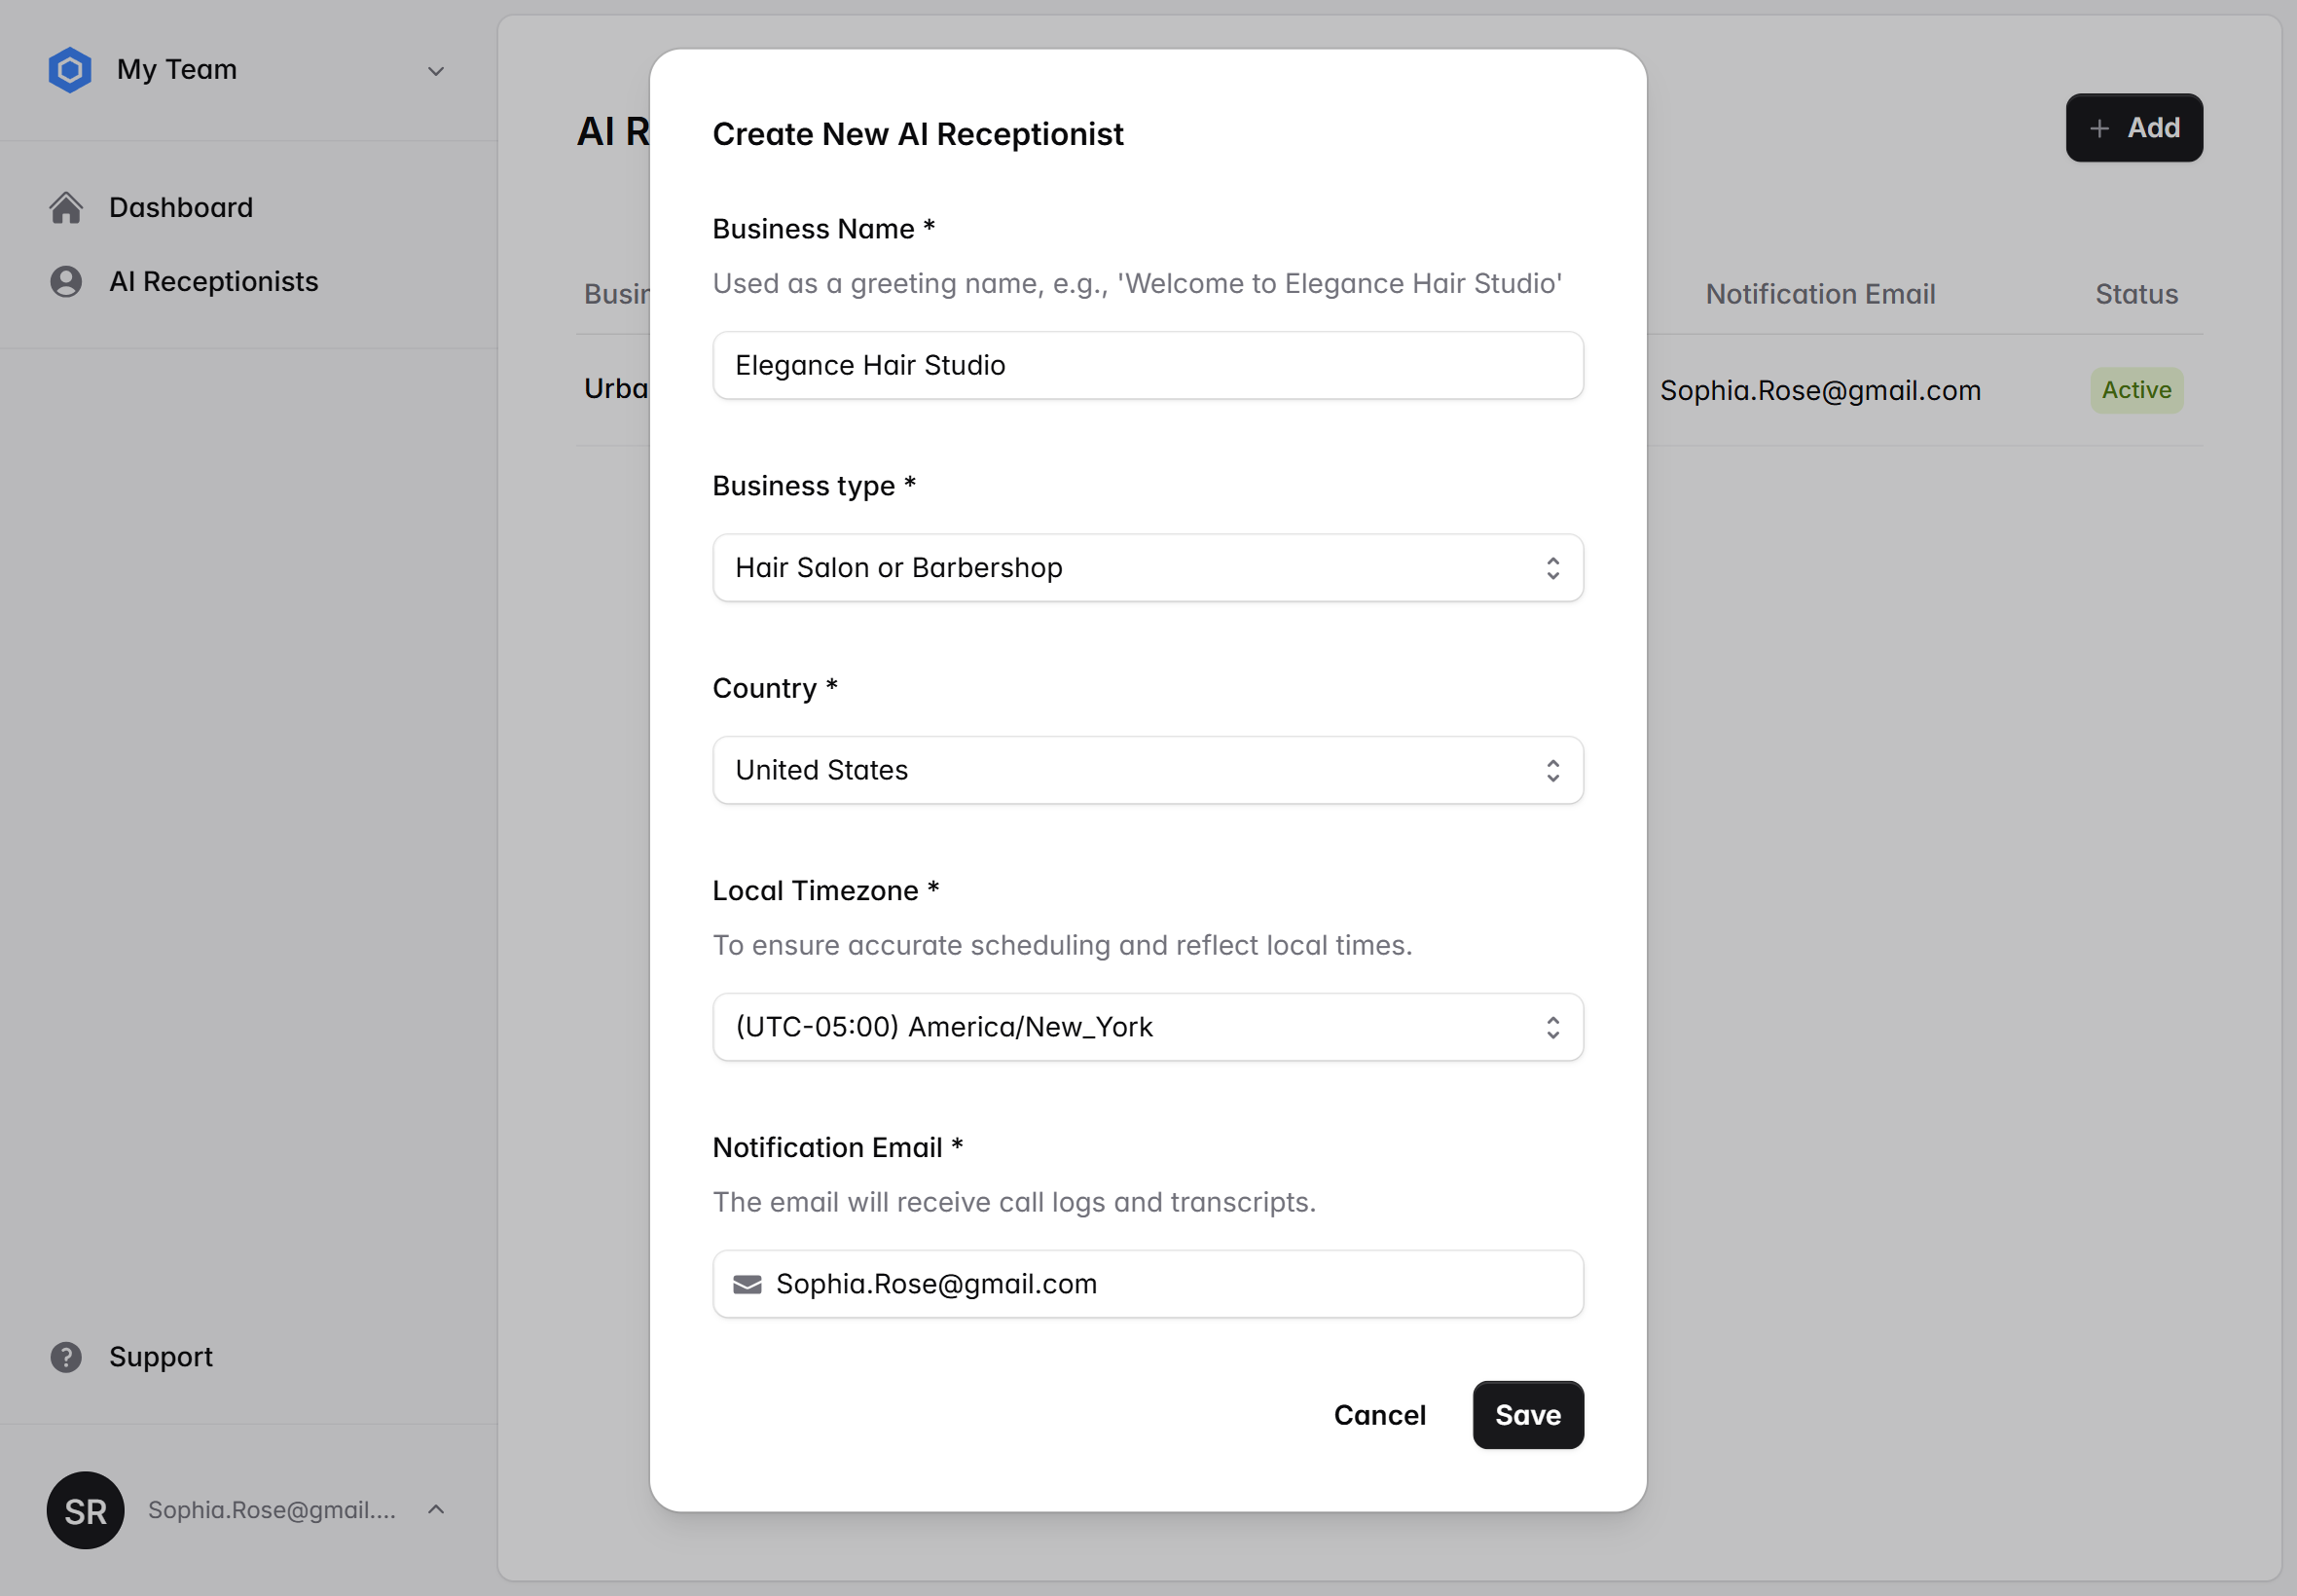
- Business Name. This name will be used by the AI receptionist as a greeting. You can use the same name your business is known by to your customers for consistency.
- Business Type. Select the business type that best describes your business. If none of the options are a good match, choose 'Other.'
- Country and Timezone. Select your business's country and timezone, as they will be used to calculate local appointment times.
- Notification Email. You will receive call transcripts, appointment notifications, and similar updates immediately after each call.
Step 3
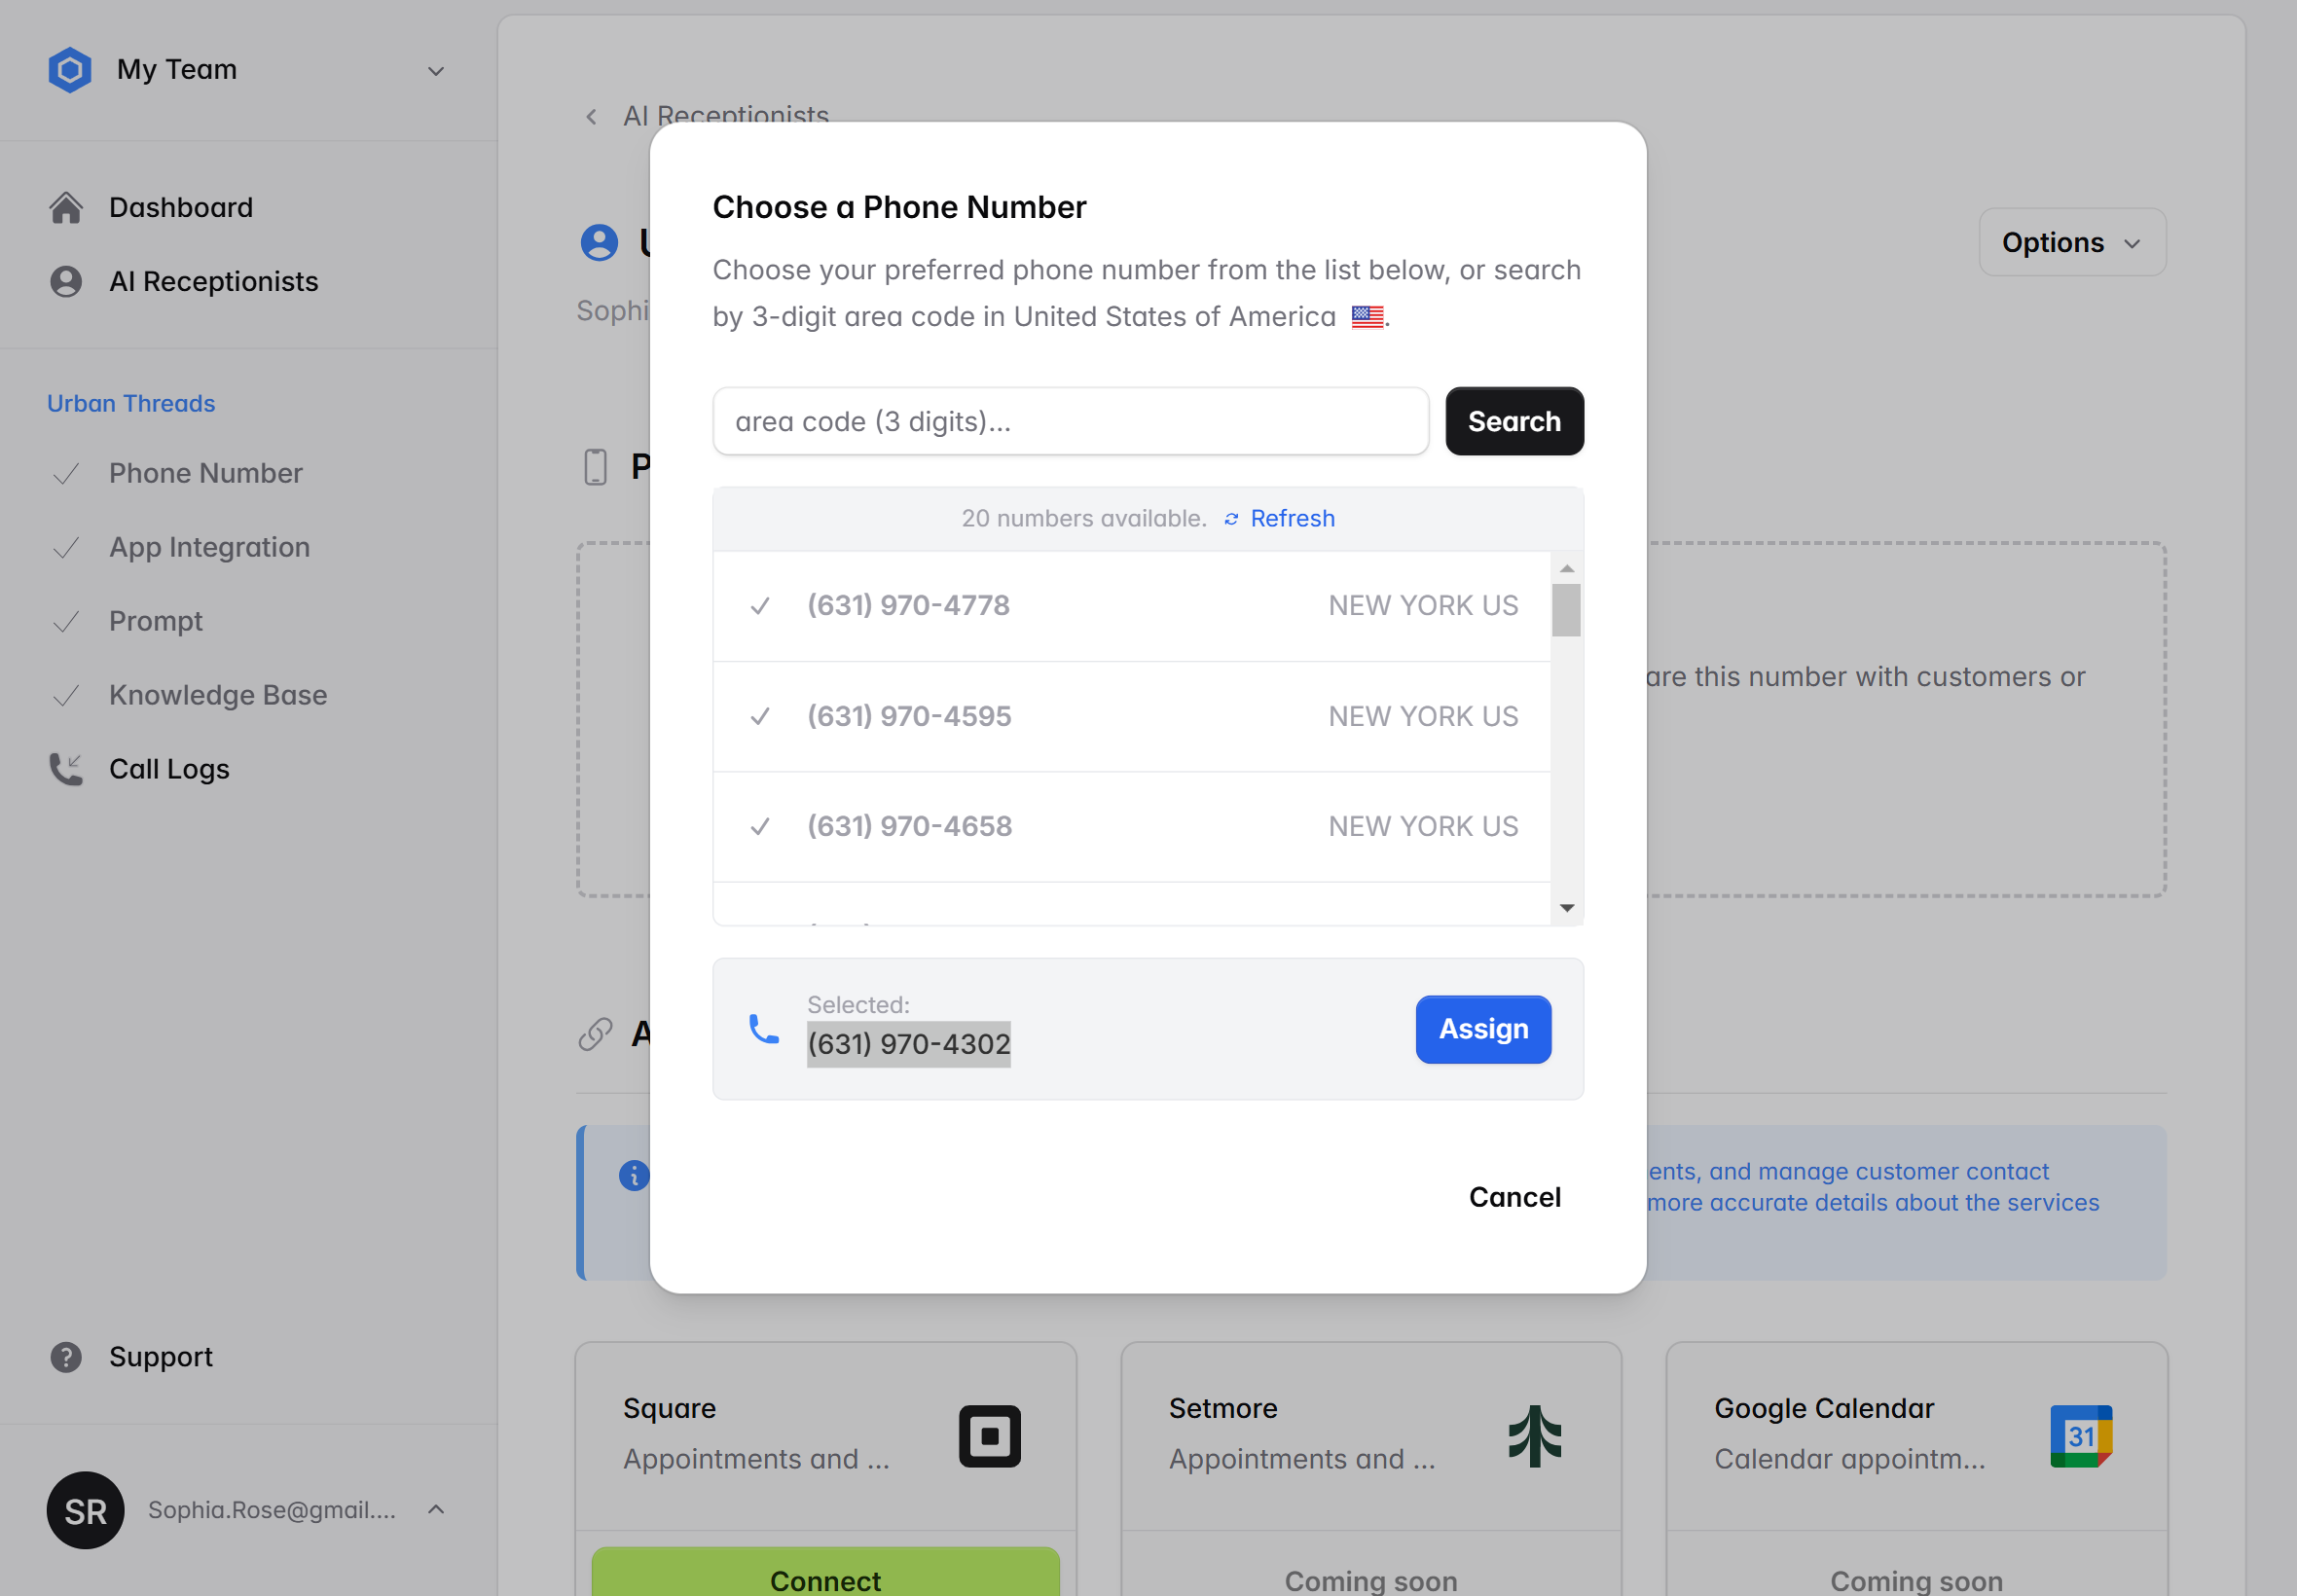
Get a Free Local Phone Number
Use this screen to select a dedicated local phone number for your AI receptionist. Enter a 3-digit area code to find a number that suits your preference. If no results are found, try a different area code.
Step 4 (Optional)
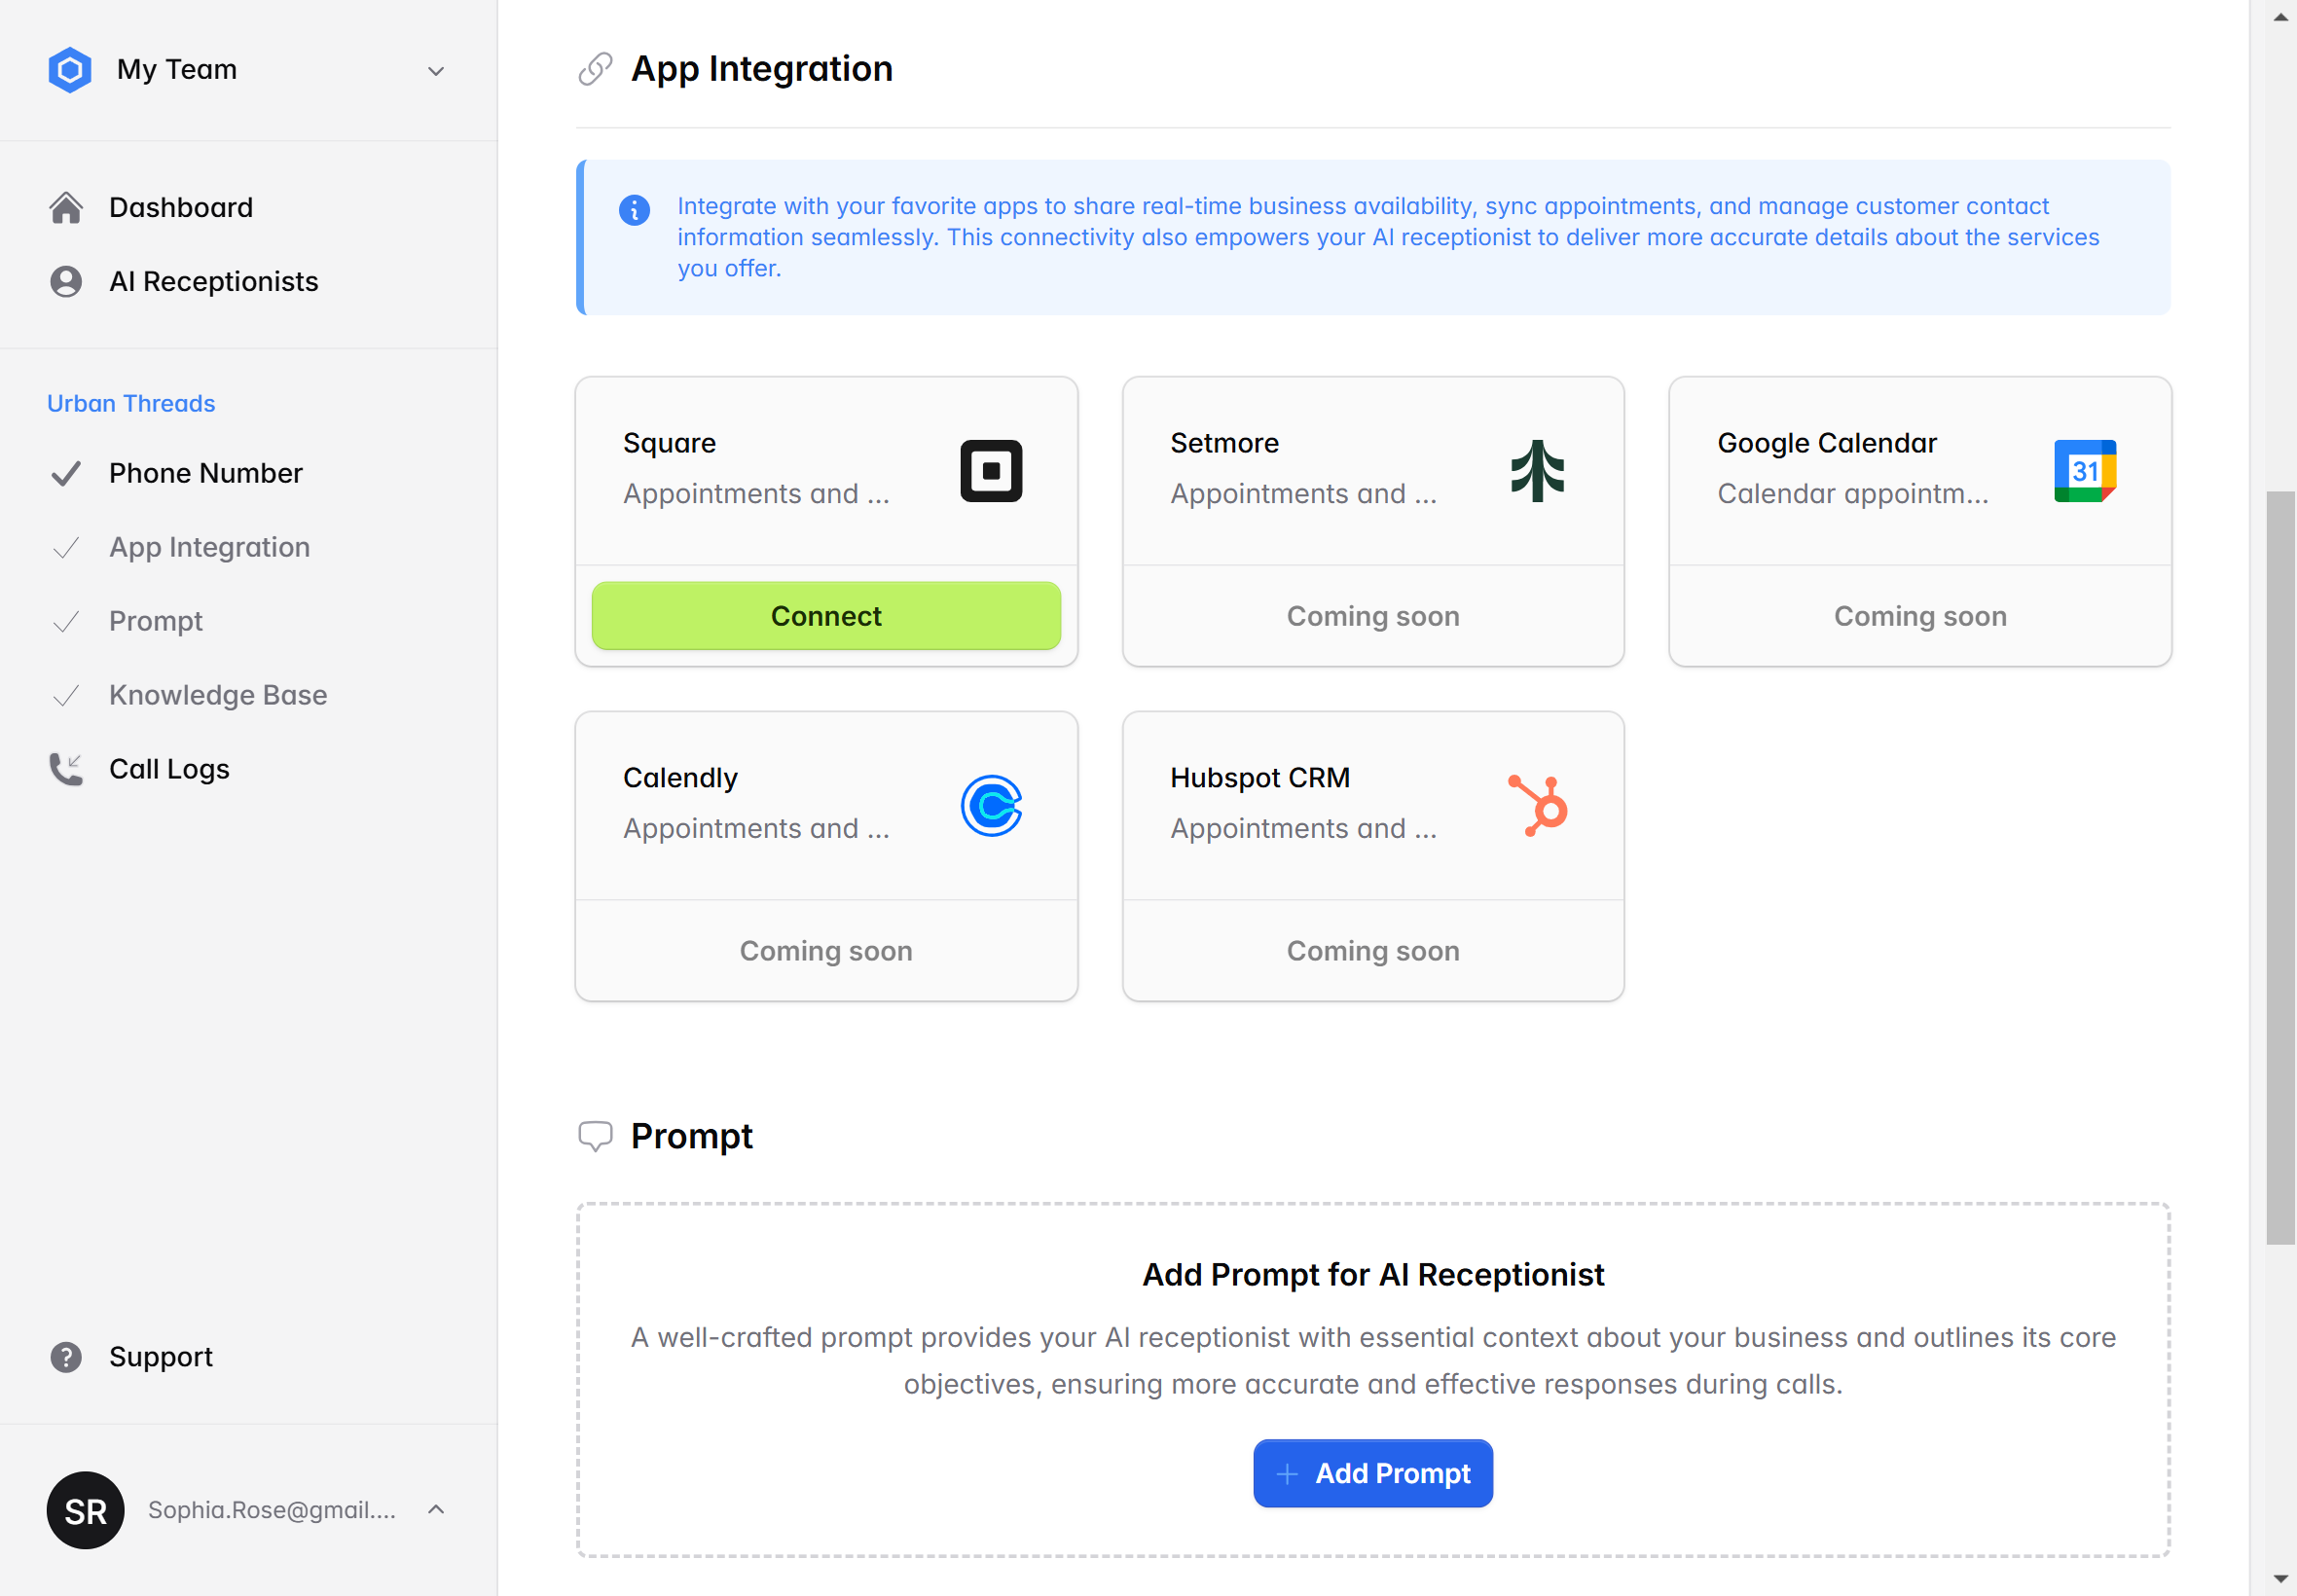
Connect to Third-Party Apps
Connecting your AI receptionist to your scheduling app, such as Square, allows it to check staff and service availability in real time. If supported by the app, it can also book appointments directly within the scheduling system.
Step 5
Define the Context for Your AI Receptionist
Instruct your AI receptionist as you would a human by clearly defining your business type, key services, and its main objectives.

For example: 'You are a receptionist for a hair salon, providing hairstyling services for all clients. Your primary responsibilities include assisting with appointment bookings and answering inquiries about the services offered.'
Step 6 (Optional)
Add Knowledge Base Entries
Think of them as the essential facts your best receptionist would need to know to assist customers effectively.
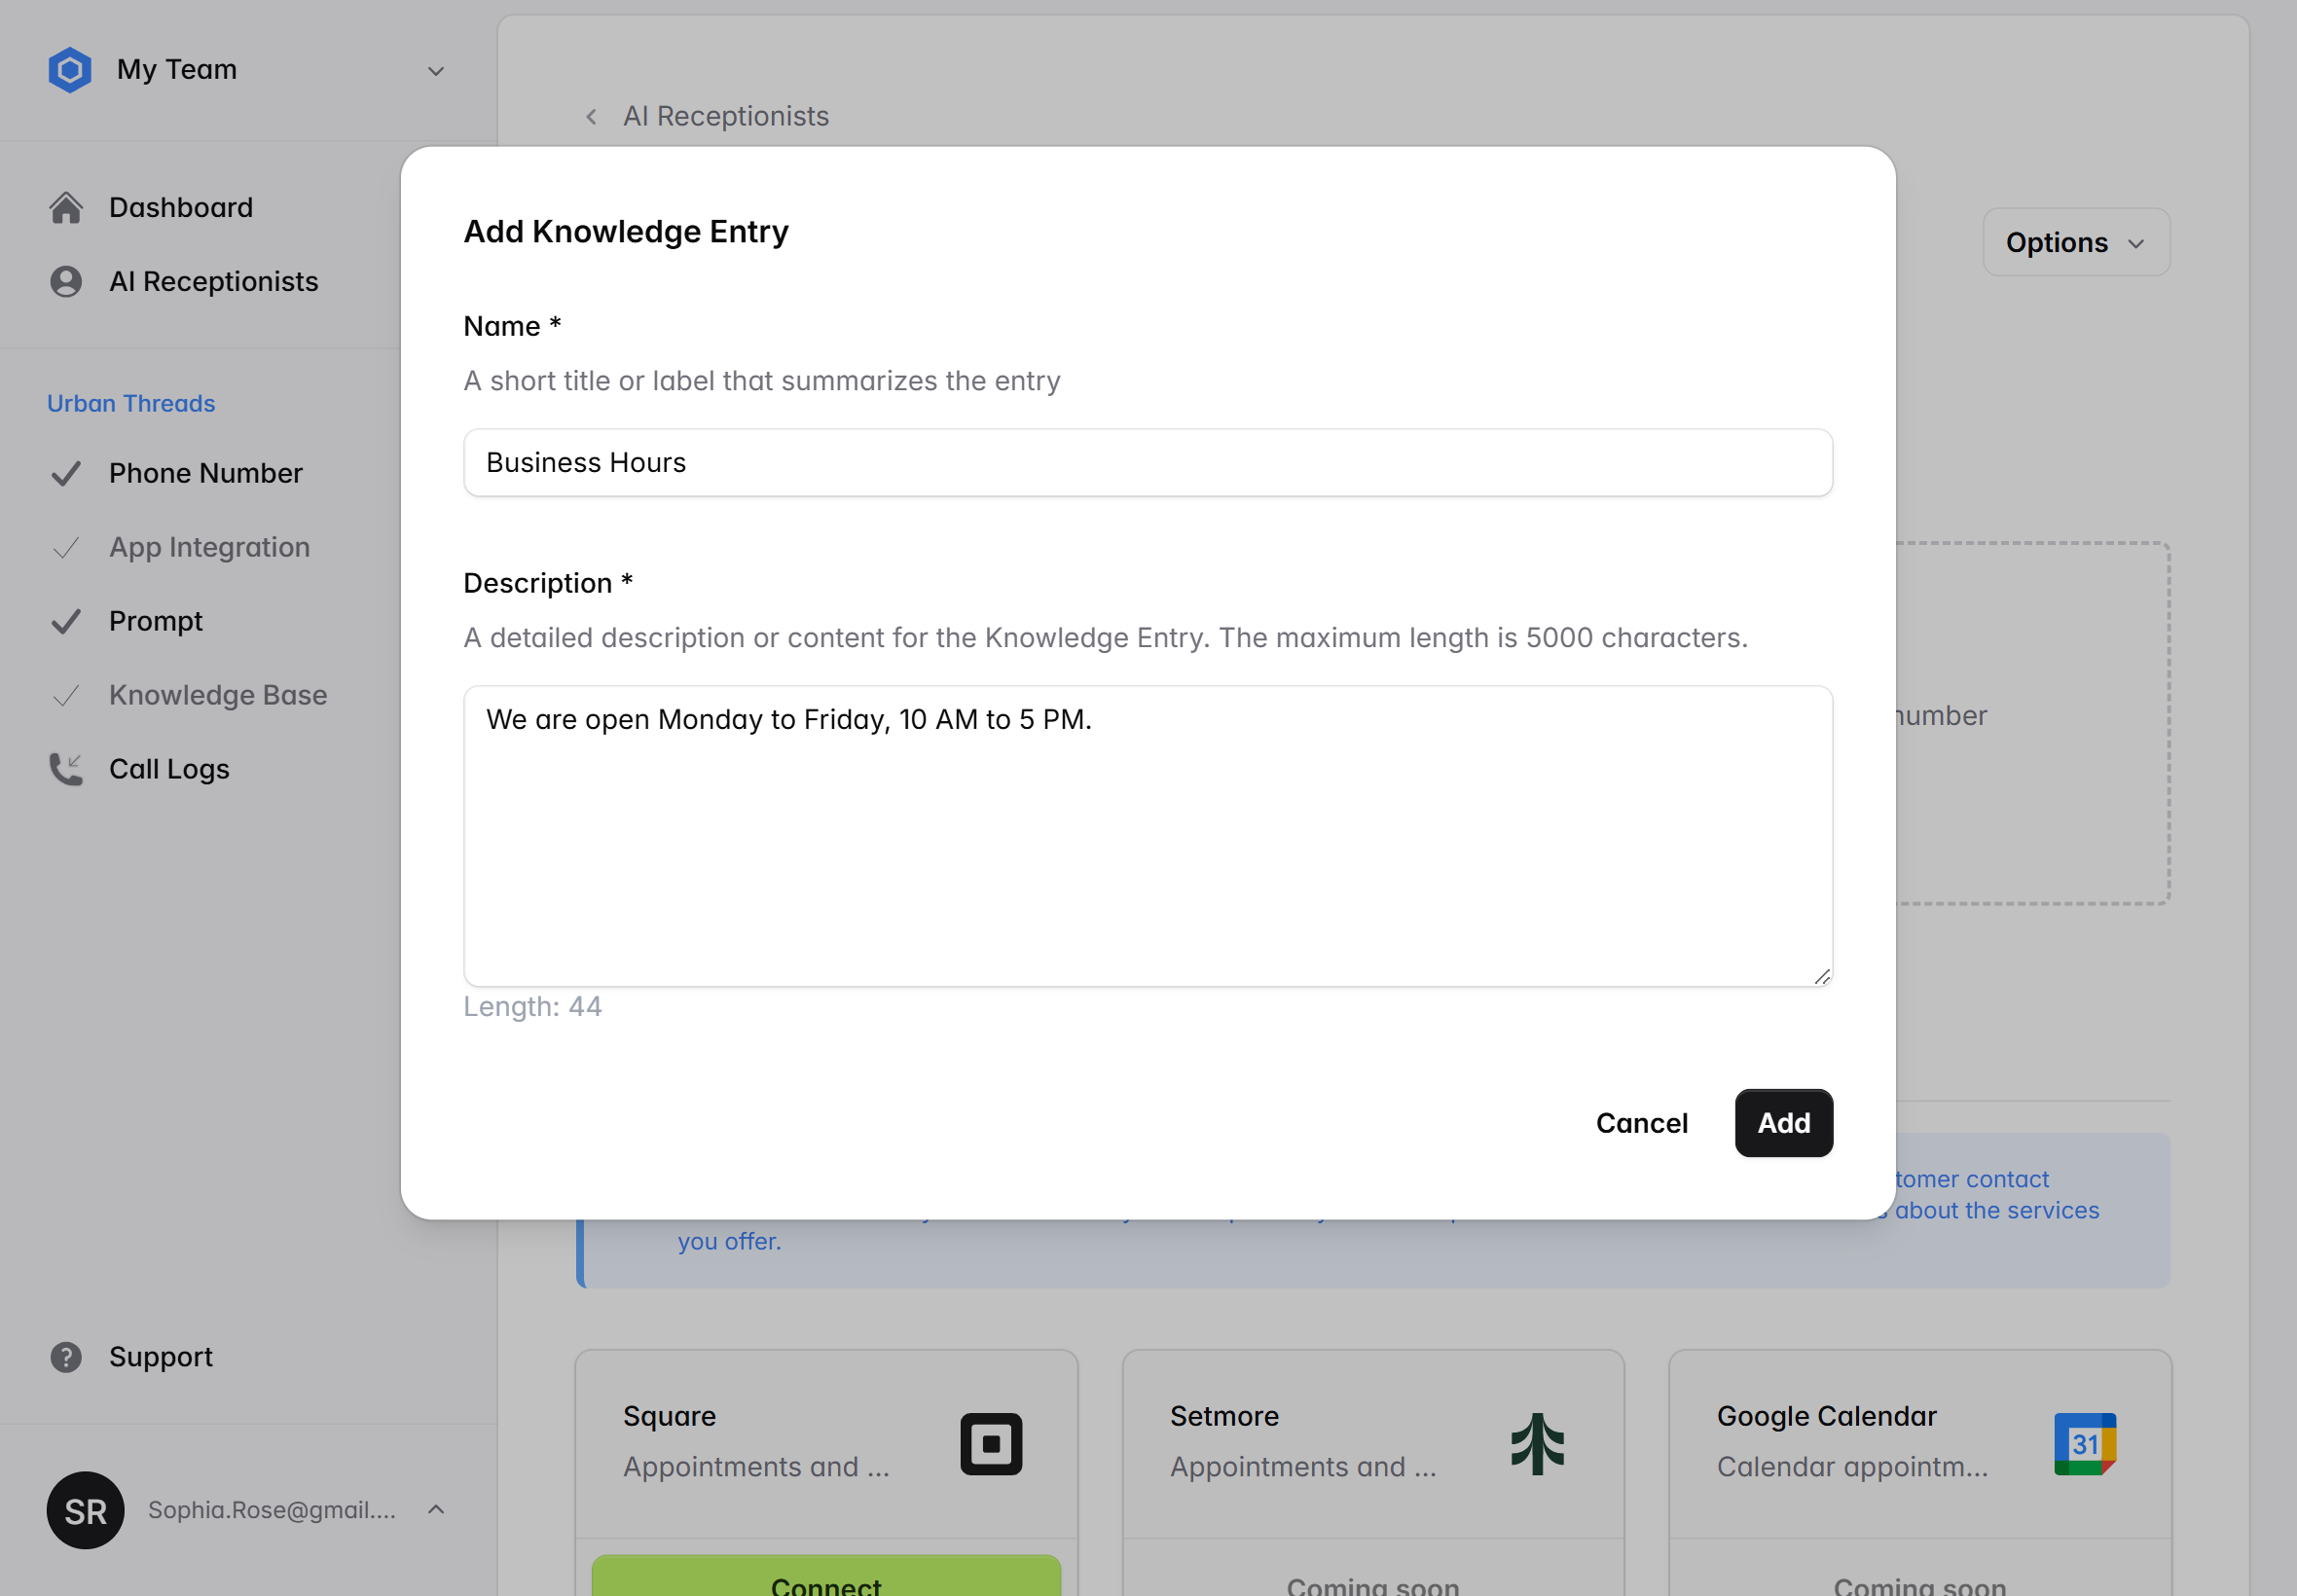
This step is optional. If you plan to connect your AI receptionist with your Square account or another third-party platform, and you already have details like services, office hours, and more stored there, the AI receptionist can use that information as its knowledge base.
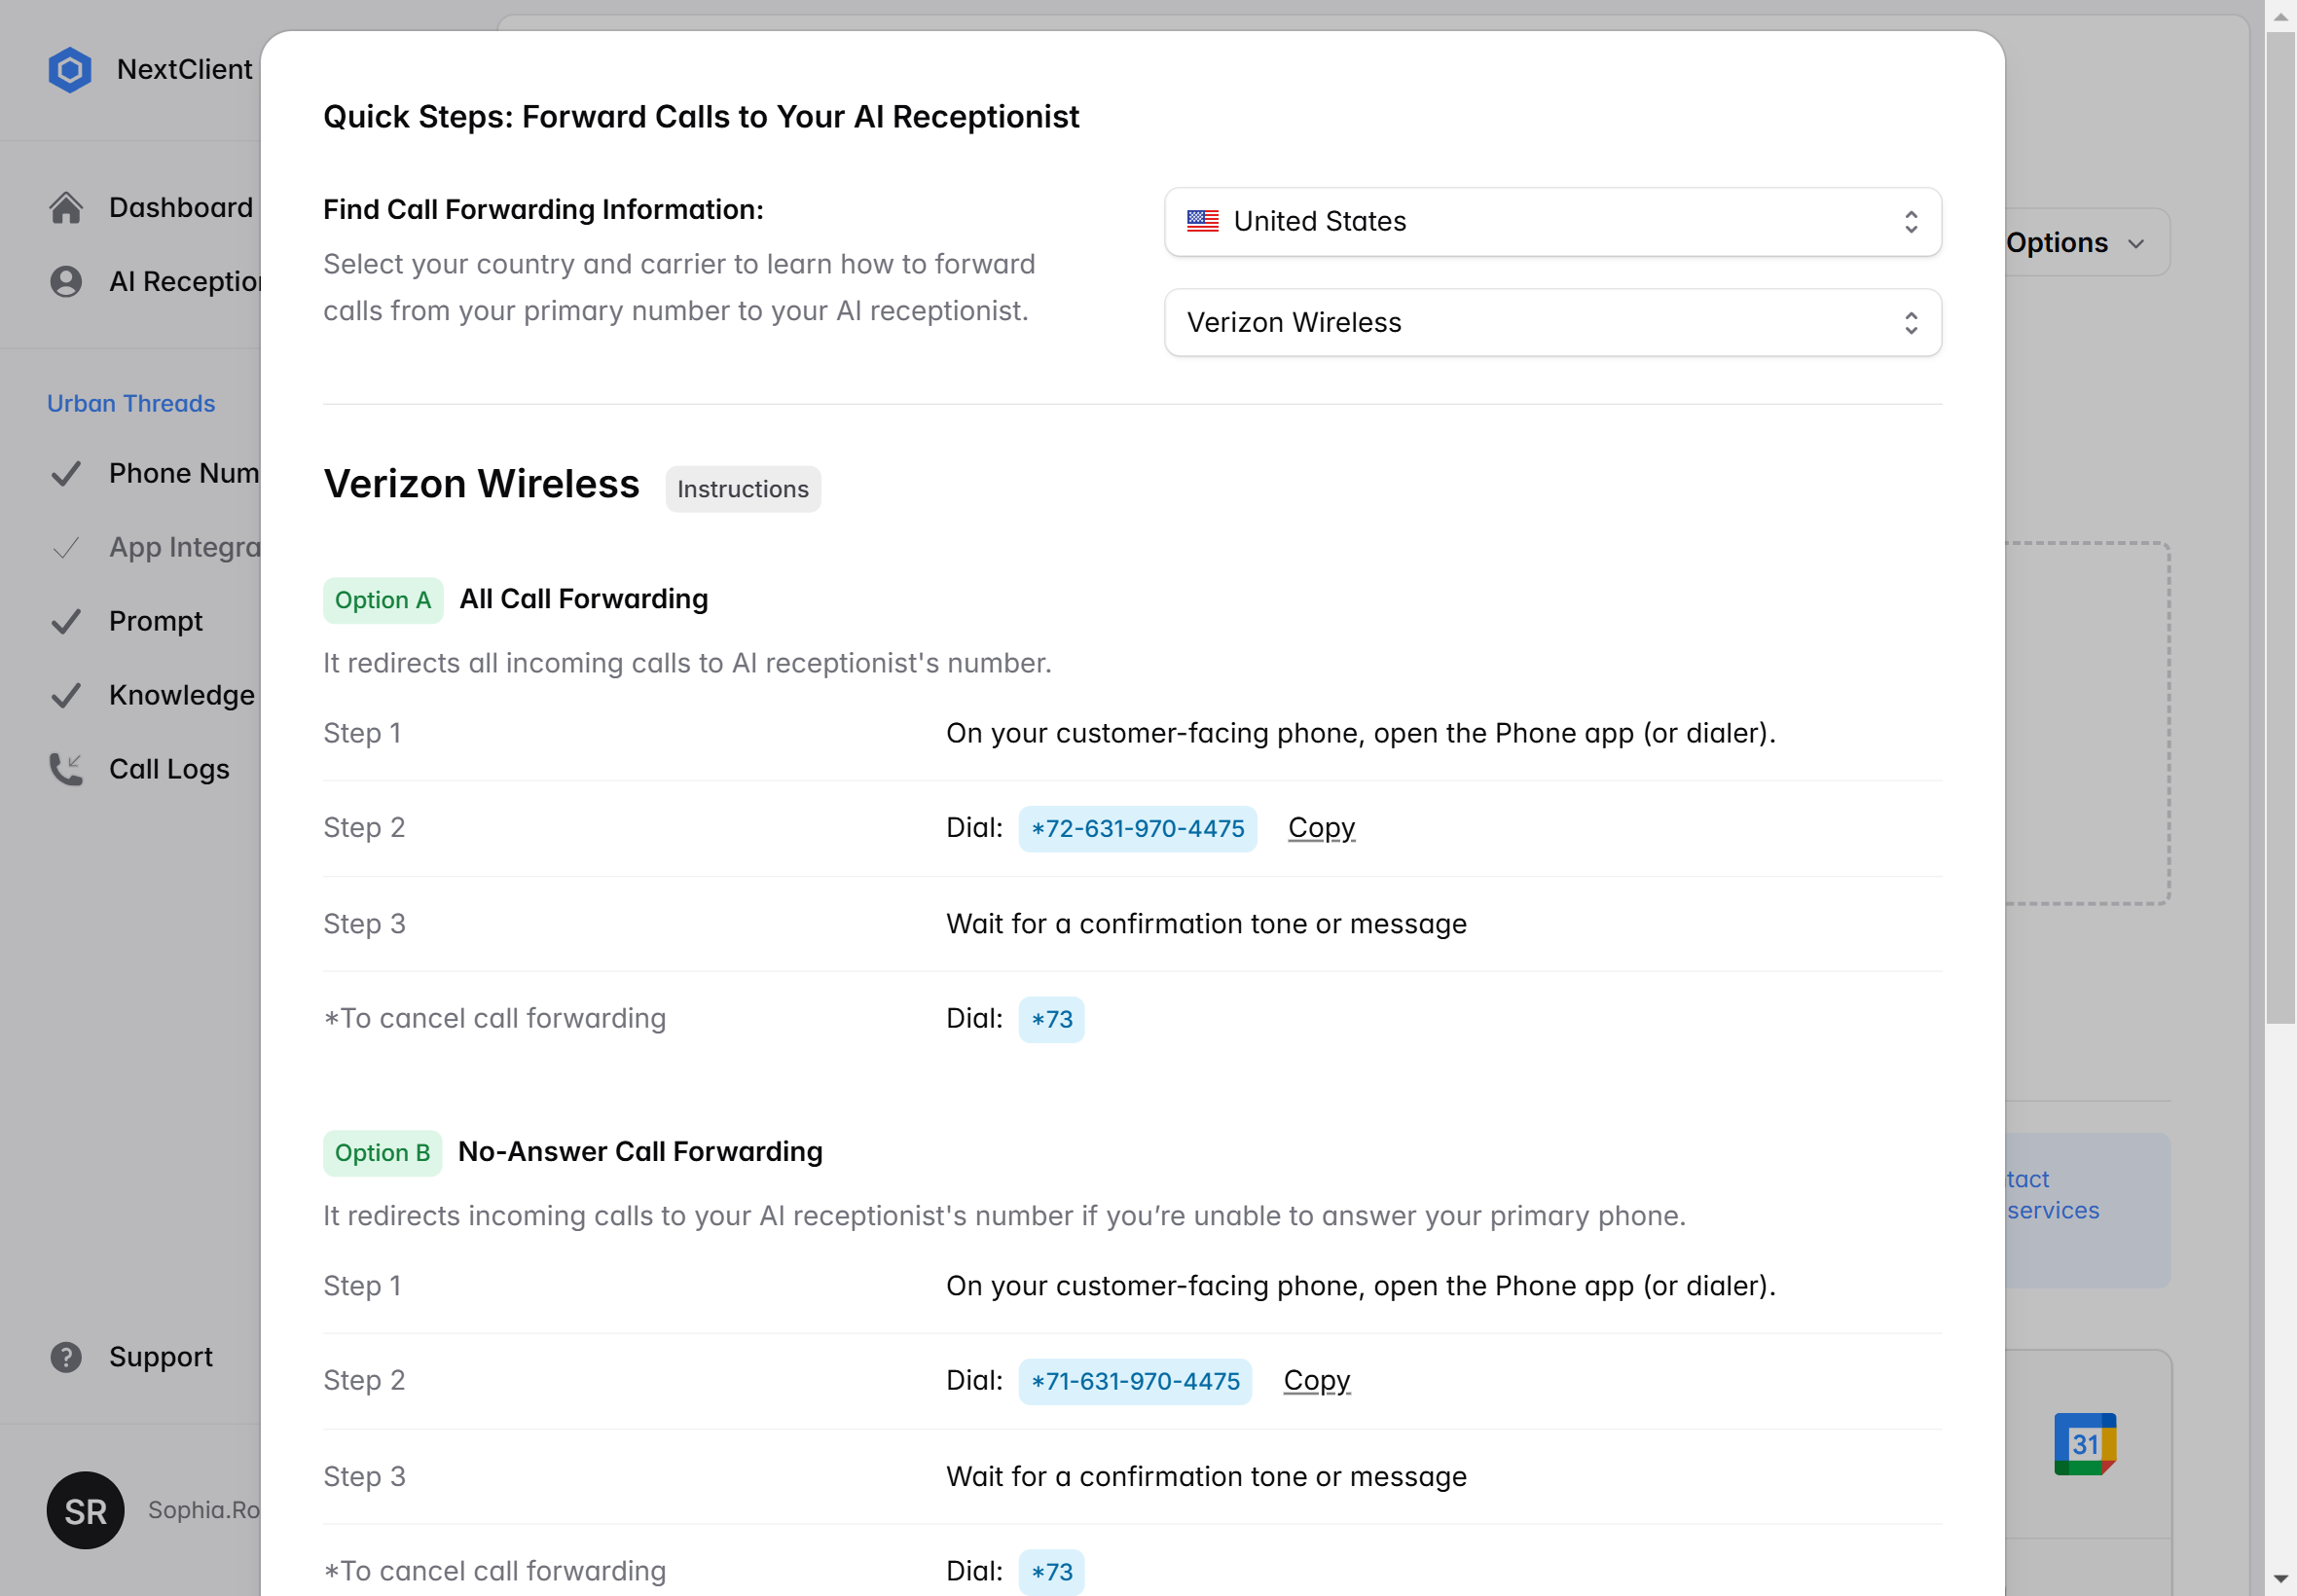
Step 7 (Optional)
Forward Calls to AI Receptionist
If you want to keep your existing phone number, forward calls from your primary customer-facing number to your AI receptionist’s designated line. Alternatively, share the new number directly with your customers.
Step 8
Test your AI Receptionist
Call your AI receptionist and try different scenarios to see how it handles typical client interactions.
Need Assistance? Use the button below to contact us, and we'll get back to you right away.
Contact us